- Manufacturing - Solutions, NetSuite Manufacturing
Inventory management is a vital investment for manufacturing companies. By utilising advanced inventory management software, businesses can unlock their full potential. This allows them to focus their time and resources on business growth, rather than wasting precious assets on stock management and fixing avoidable errors. As inventory is typically the biggest expense for product companies, it is crucial to give it the attention it deserves.
Although basic inventory management software is better than pen and paper, as a business grows, limitations surrounding this basic software become evident. Companies that depend on manual processes for inbound logistics encounter problems that can result in wasted time, financial losses, and a negative impact on customer satisfaction.
Limitations surrounding out-dated inventory management systems
Limited inventory tracking
Any delay in updating inventory levels after an order is placed can lead to unfulfilled orders and negatively impact customer satisfaction. Studies show just one bad experience is enough to keep more than 60% of shoppers from buying from you in the future. Not only does this impact the business’s reputation, it also wastes their time and money spent in order to correct their mistake.
Without clear strategies for storing inventory, businesses run the risk of misplacing their stock. This can have a negative impact on important operations like production and customer orders, ultimately resulting in inaccurate inventory records.
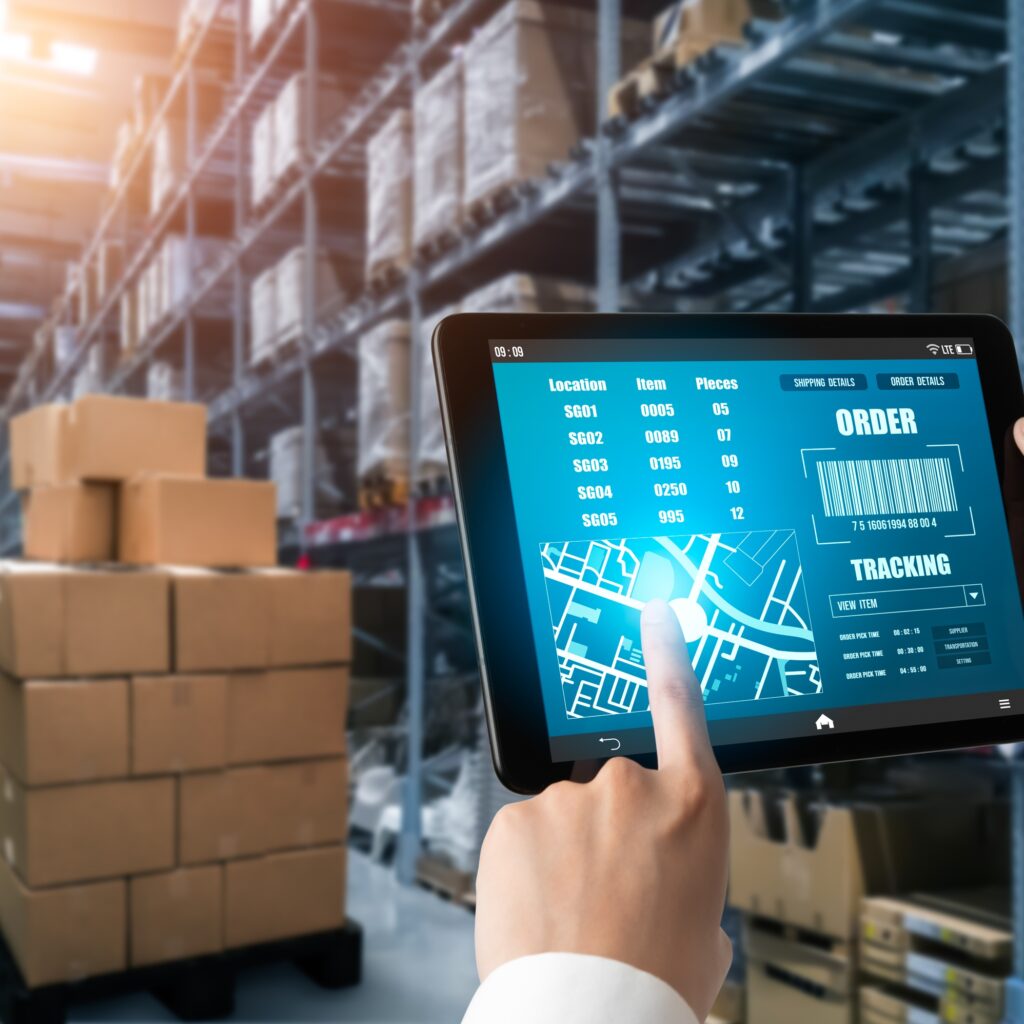
This issue also links to multi-location inventory tracking. As manufacturing companies continue to grow, it is highly likely that they will expand to more than one location in order to store their stock. Without access to multi-location inventory tracking, the business will have no way of knowing what inventory is available in each location.
Lack of visibility
Accurate and up-to-date inventory records play a vital role in the success of any product-based business. However, it’s not just about knowing how much inventory you have. It’s equally important to have visibility into where your inventory is located, what is currently available, and when you can expect additional inventory.
Inaccurate/incomplete recording of data
If you’re still relying on manual systems to log information as items enter the warehouse, it’s important to understand that your inventory records may not be as accurate as you think. Human errors, outdated information, and incomplete data can all have a negative impact on the customer experience, as well as your productivity and efficiency.
In addition, manually entering newly received items into inventory as they enter the warehouse can cause delays in inventory updates and transactional records. This can occur as inbound staff have to take time to physically receive orders and then update the inventory. This is a time consuming process.
Updating product information, such as price, description, or sizing, will require manual redoing, which can increase the chances of errors. Although it may initially seem like a minor inconvenience, it can quickly escalate to an employee spending hours every week updating and verifying item records and listings – time that could be spent more efficiently.
Messy demand planning
It is essential for businesses to have the ability to analyse the past performance of all SKUs in relation to seasonal patterns, recent fluctuations in demand, and other valuable insights. This knowledge is crucial for effectively managing replenishment and optimising operations. Doing so helps aid customer satisfaction and profitability.
Top 4 reasons why you should choose NetSuite for Warehouse Management
Improved demand planning
NetSuite Demand Planning takes into account past sales, seasonal trends, current opportunities, and projected sales to determine the optimal timing, items, and quantities for placing orders. The system also sends notifications to users when inventory levels drop below predetermined reorder points. This helps reduce costs and improve profitability by minimizing excess inventory and associated expenses, while also preventing missed sales opportunities.
Improved recording of data
Simplifying and standardizing processes with NetSuite WMS can make a big difference in your business. It helps to increase efficiency, minimize errors and incomplete inventory records, and ultimately decrease overhead and warehousing costs. Plus, it ensures that all items are properly entered into inventory and readily available for production or order fulfilment.
The item master in NetSuite gives you one place to manage all product information. Changes to a products’ price, details, pictures or other attributes can automatically be synced to other systems so you’re not wasting time or introducing errors through duplicate data entry.
Improved inventory tracking
The inventory management solution provided by NetSuite keeps track of product movement across multiple facilities and channels in real time. Whether a customer makes a purchase in-store, through a third-party ecommerce marketplace, or an employee transfers stock between warehouses, all updates are instantly reflected in NetSuite. This comprehensive view of available items prevents overselling and ensures quick and accurate fulfilment of customer orders. Additionally, it helps reduce costs by utilising inventory available.
Optimisation of warehouse space
Warehouses and premises for storing stock can be a significant expense for manufacturing companies. As mentioned earlier, when a business grows, it may require multiple locations to accommodate its inventory. That’s why it’s crucial to make sure that the space being paid for is utilised efficiently. NetSuite WMS enable users to optimise warehouse space, ensuring that items are stored in the most appropriate manner. Additionally, it helps ensure that the warehouse has enough space to accommodate incoming shipments.
An optimised warehouse layout identifies fast-moving inventory and strategically places it near fulfilment areas, eliminating the need for pickers to tirelessly search the entire warehouse multiple times a day to retrieve popular items. NetSuite’s bin management functionality tells workers where to store each product, minimising the chances of misplaced or lost items.
Working with OSSM as a NetSuite provider
Ultimately, improving inventory management is a worthwhile investment if you want your business to reach its full potential. If you’re interested in NetSuite business software and want to learn how it can benefit your operations, feel free to reach out to our team at OSSM.
As a trusted NetSuite Solution Provider in Ireland, we’re committed to delivering flexible and long-lasting cloud solutions that meet your specific needs. Our dedicated team is here to support you with your NetSuite project and assist you in finding the best solutions. We can even offer you a NetSuite product tour to help you determine if it is the right fit for your business.
To learn more about NetSuite for Manufacturing why not come to this years ERP Head to Head where we will be giving a demo on this topic?
Or come by our stand and have a chat to a member of our team about your requirements.
To register, just click below and don’t forget to use promo code OSSM20 for an early booking discount.